|
General Disclaimer: (HV) (DC) injury or death hazard, use at your own risk, may void warranty. |
User:Cewert
I am converting my '04 Prius via the CalCars PriusPlus method.
Photos from Chris Ewert's Conversion

Cutting the aluminum with a hacksaw
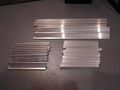
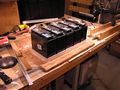
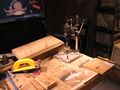
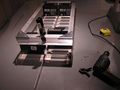
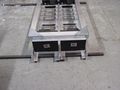
All the pieces necessary for the battery trays
All the parts from the tray laid out
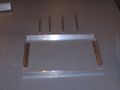
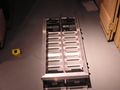
Battery tray just set together
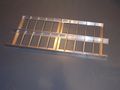
Close up of the battery tray just set together
Tray set together, ready for creating "jig"
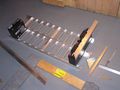
Starting to assemble the jig
More assembling the jig
Getting the jig assembled

Mostly finished tray jig
Dremel drill press used for drilling holes in angle irons
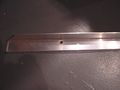
Holes drilled in the aluminum, then countersunk
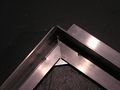
Sample corner finished (done on scrap aluminum)
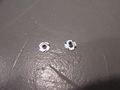
Shows the self threading screws sticking out
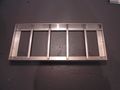
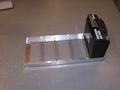
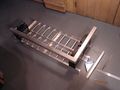
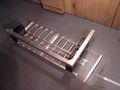
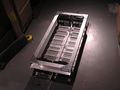
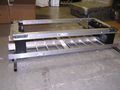
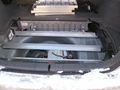
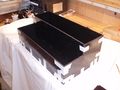
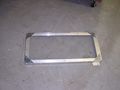
The finished tray
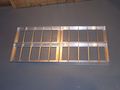
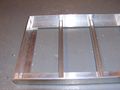
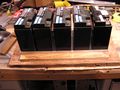
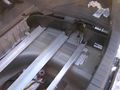
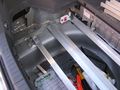
All 4 finished trays laid out like they will be
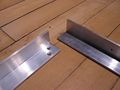
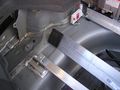
Experimenting with the support angle irons
Starting on the top of the battery box
45 degree angles cut in angle irons
Corner bracket just set on the top
3 angle irons cut and just sitting on the box
Shows the Plexiglass "shield" on the inside of the angle irons
Partially assembled battery box - bolted on top, but not the sides
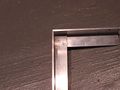
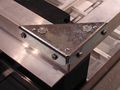
Inside of the corner of the battery box top
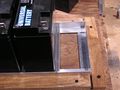
Binding posts that I choose to use. They worked, but they aren't part of the official conversion method
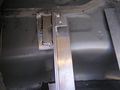
A completed corner, bolts in and have been ground off.
Shows the angle iron that will be used to bolt down the top
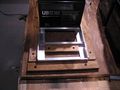
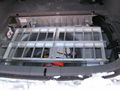
Mostly finished battery box. Still lacking the bolts in the center of the pack, holes for bolting the top down and holes in the frame
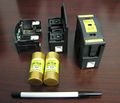
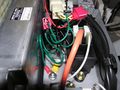
Fuses and holders
A fuse in it's holder
Bottom of the fuse holder (for DIN rail mounting)
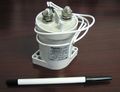
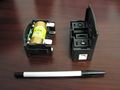
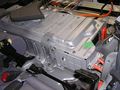
The Kilovac EV200 contactor
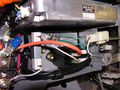
Battery Box sitting on steel tube
Battery box sitting on steel tube with second tube for screw lift support
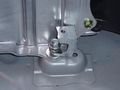
Alt mounting method: modified hanger bolted into battery box mount
Alt mounting method: Test fit of unfinished battery box top in forward location
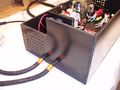
Charger in tirewell
Welded support connected to support angle irons
Welded support connected to support angle irons
Support angle irons
Right side battery box supports
Left side battery box supports
Rubber pad under support angle irons
Entire battery box mounting supports
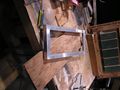
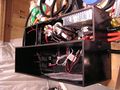
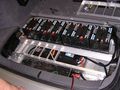
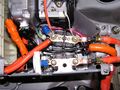
Electronics box being assembled
Mostly completed electronics box
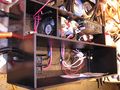
Mostly completed electronics box
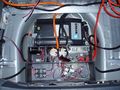
Installed electronics box and charger
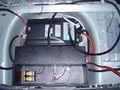
Installed electronics box with top on
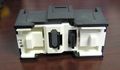
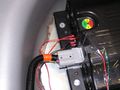
Close up of HVD1 installed
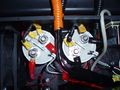
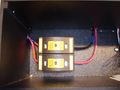
Close up of contactors installed
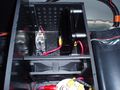
Left side of electronics box
Right side of electronics box
Close up of fuses in electronics box
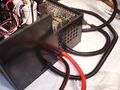
Close up of ZiVan NG3 charger
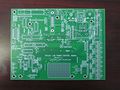
Unstuffed control board - front

Unstuffed control board - back
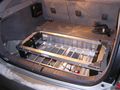
Batteries being installed

More batteries
Battery box top (modified for alt. mounting)
Bolt on top of OEM battery
Removing carpeting from on top of OEM battery
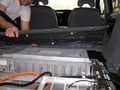
Removing the upright part of the rear seat
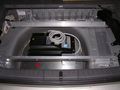
The OEM battery exposed
Opening the OEM battery lid
Inside the OEM battery (unmodified) from rear of car
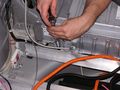
Inside the OEM battery after HV tie-in
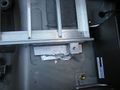
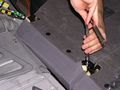
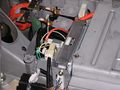
Unmodified OEM battery low voltage wiring
Modified OEM battery low voltage wiring (for charge interlock)


